
Start with your website. By the end of this guide, you'll have a brand in Moosen and know how to send your first approved post to a connected channel.
Before you begin Have your public website address ready. To publish, you'll also need access to a social account you manage and an active Moosen subscription. The free post preview doesn't require a payment card.
1. Add your website#
- Open Get started.
- Enter your business website address. Use the complete address of your own storefront or profile if your business lives on a hosted platform.
- Continue through the setup questions. Moosen reads accessible pages while you tell it about your business and posting preferences.
- Sign in or create your account when prompted so your brand and drafts are saved.
Use a page that describes what you actually sell or do. Password-protected pages and blocked websites can prevent Moosen from reading enough useful content. See website sources if your results are incomplete.
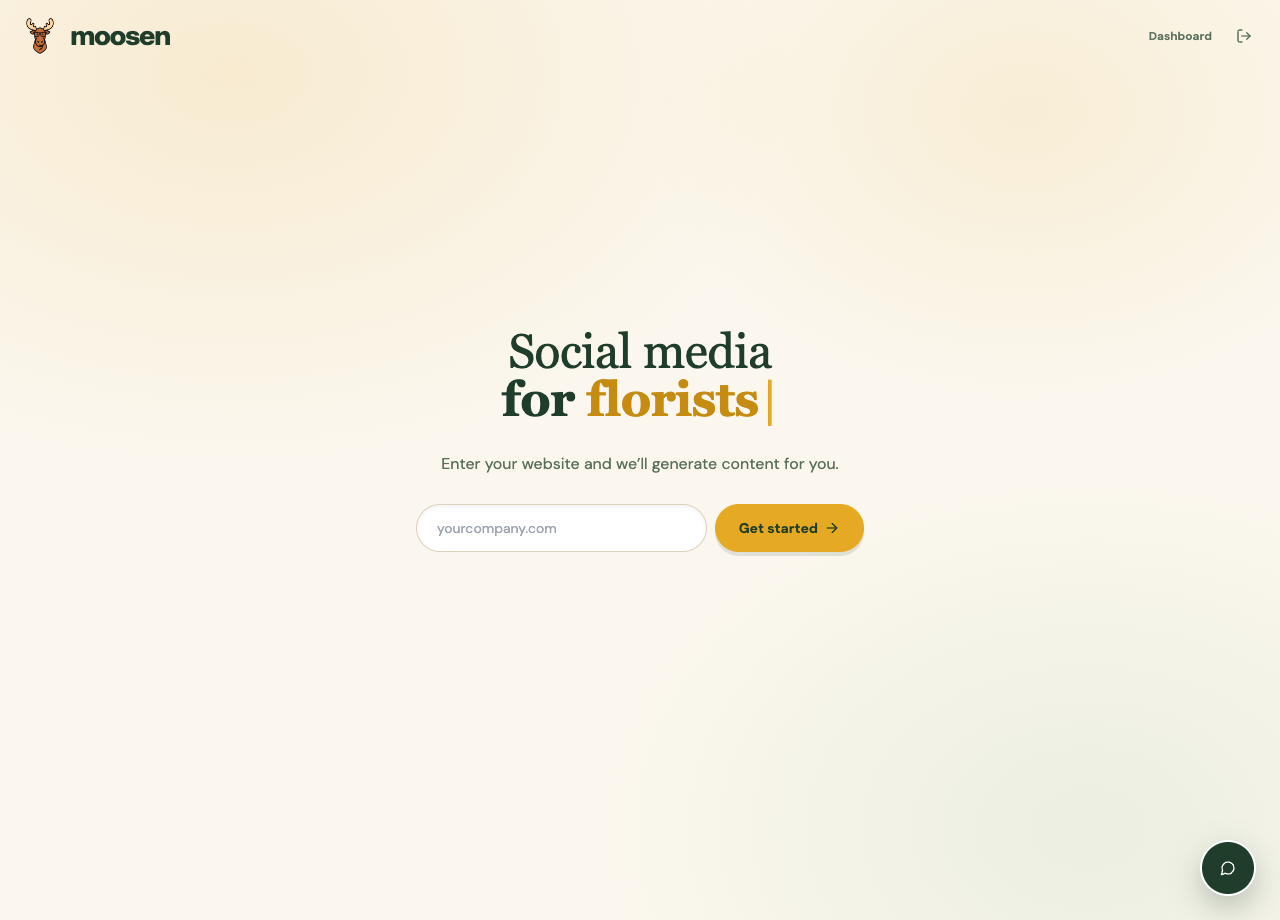 Begin by entering your public website address. Sample data. Select image to enlarge.
2. Check what Moosen learned#
Open Brand in the dashboard. Review Writing style & rules, Brand voice, Products, and Your library.
Correct outdated product information and add any important writing rules. A useful rule is specific, such as "Use coffee tasting notes from the product page. Don't invent origin details."
You can come back to these settings after reviewing your first drafts. See teach Moosen your writing style.
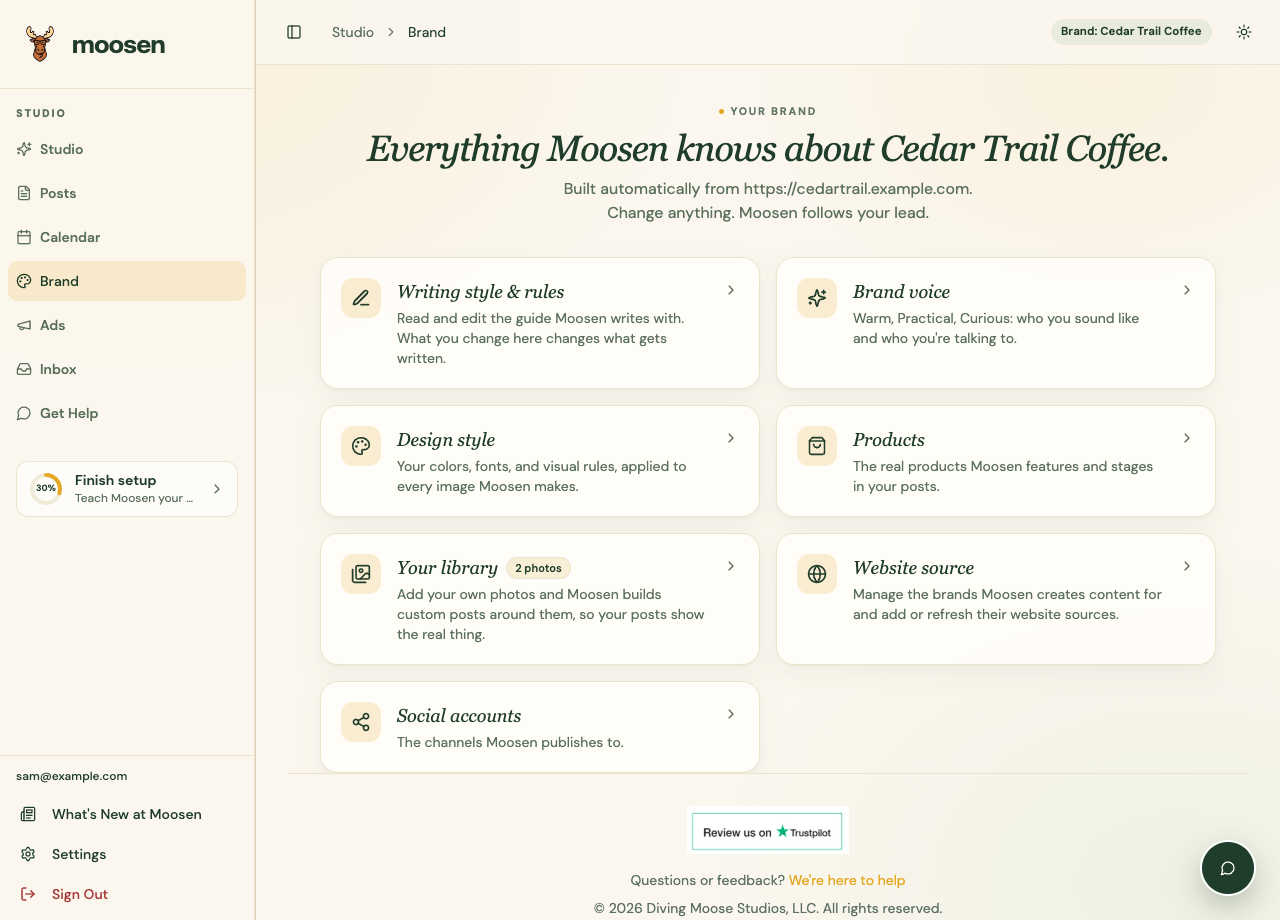 Review what Moosen learned in the Brand hub. Sample data. Select image to enlarge.
3. Review your first drafts#
- Open Studio and read the next post in your review queue.
- Check the caption, imagery, destination, and proposed time.
- Approve a post you want to use, or swipe right. Skip one you don't want, or swipe left.
- Use Tell Moosen what to change when a post is close but needs a change. Use Improve future posts for feedback that should guide later drafts.
The free preview lets you make seven review decisions across the lifetime of the account. Both approvals and skips count. Approval during the preview doesn't publish to your social accounts.
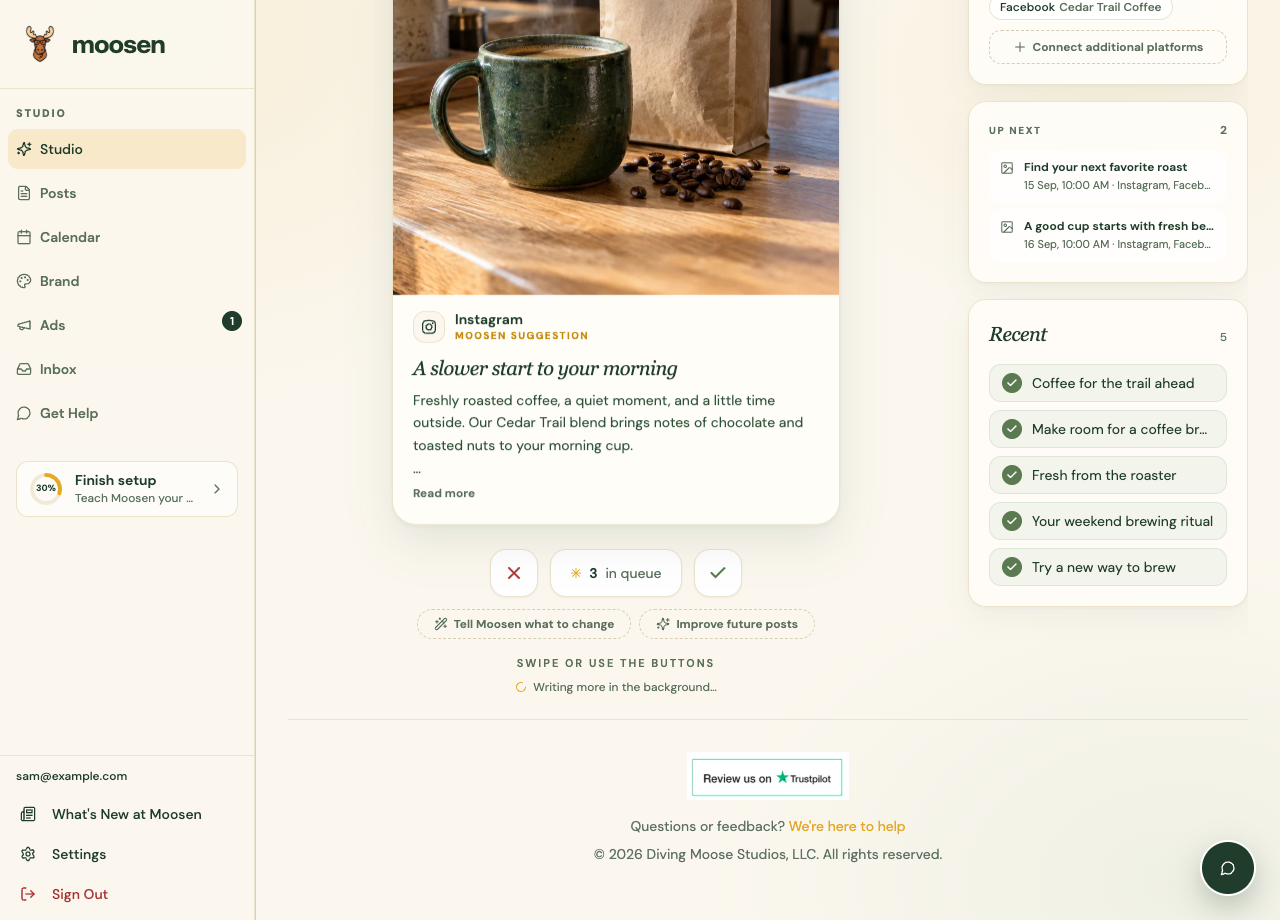 Review the draft and use the controls below the card. Sample data. Select image to enlarge.
4. Connect your publishing channels#
- Open Brand → Social accounts.
- Choose the channel you want to connect.
- Complete the channel's sign-in and permission flow, then select the correct account, Page, or destination.
- Return to Moosen and confirm that the account appears as connected.
Some channels need an extra setting, such as a Pinterest board or Reddit subreddit. Use the connection guides for your channels.
5. Choose a plan and check your schedule#
Choose a paid plan from Settings when you're ready to publish. Check the current options on Moosen's pricing page.
In Settings → Automation → Posting schedules, find your brand's schedule. Check Cadence, Automatic publishing destinations, and whether Autopilot is enabled. Leave autopilot off if you want to approve every new draft.
Check your timezone in Settings before choosing a publishing time.
6. Schedule and confirm your first post#
- Return to Studio and approve a ready post, or open Posts to manage an existing draft.
- Check Calendar for its scheduled time. Open the post to adjust the date or time if needed.
- After the scheduled time, open Posts and check delivery for each destination.
- Follow the live post link when it's available to confirm the published result.
Approval, scheduling, and successful delivery are different steps. If a destination fails, follow fix a publishing problem.
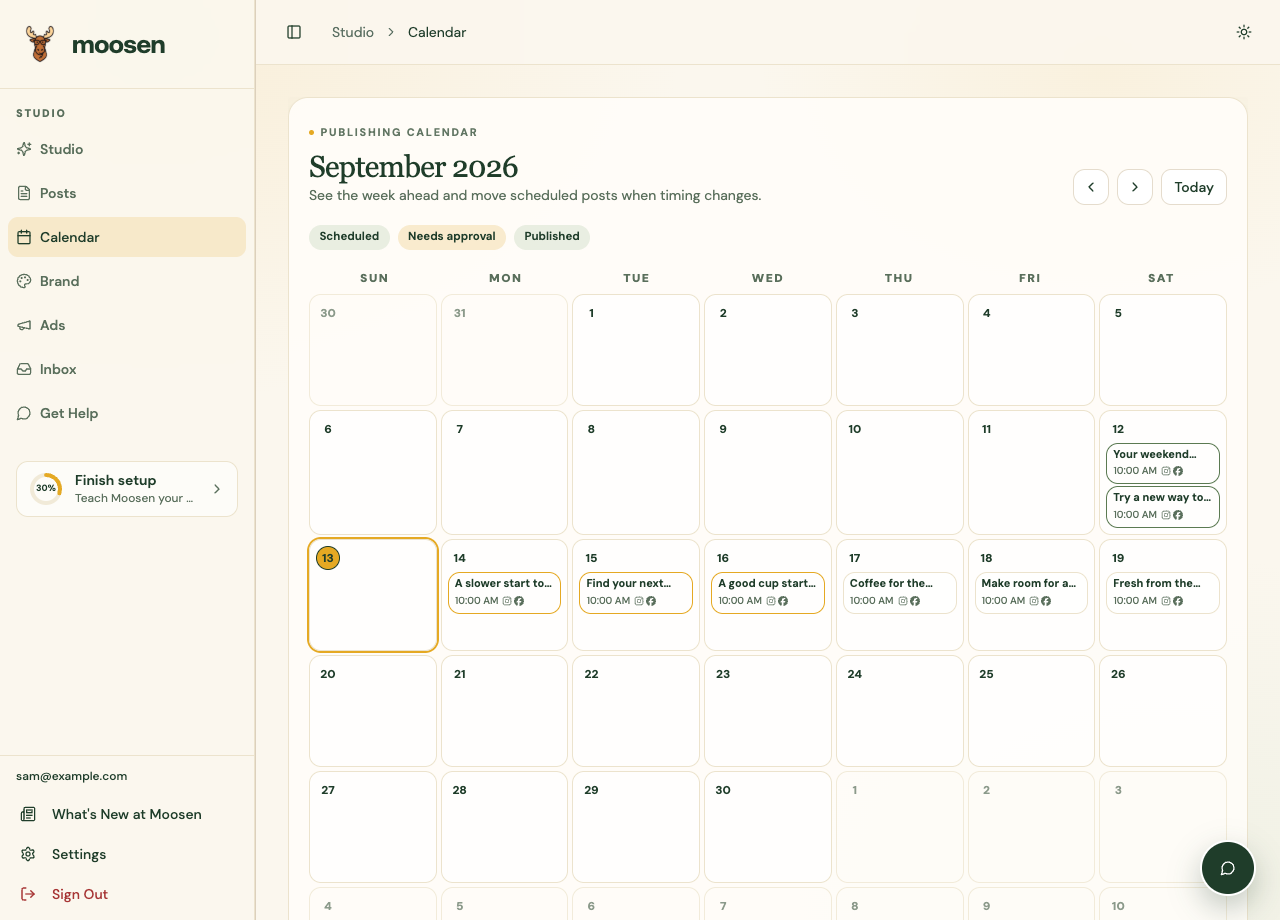 Confirm the date and time in Calendar. Sample data. Select image to enlarge.
Keep improving your next posts#
Review a few drafts before switching on autopilot. Keep product information current, add useful photos to your library, and give specific feedback when the writing misses your voice.
Next, take the workspace tour or set your posting schedule.