
The Multi-Brand plan supports up to five brands. Each brand has its own website source, writing guidance, design settings, products, and content context.
Add another brand#
- Check that your plan has an available brand slot in Settings → Subscription & usage.
- Open Brand → Website source.
- Add the new website and finish its setup.
- Review the new brand's voice, products, and imagery.
- Check the posting schedule created for that brand.
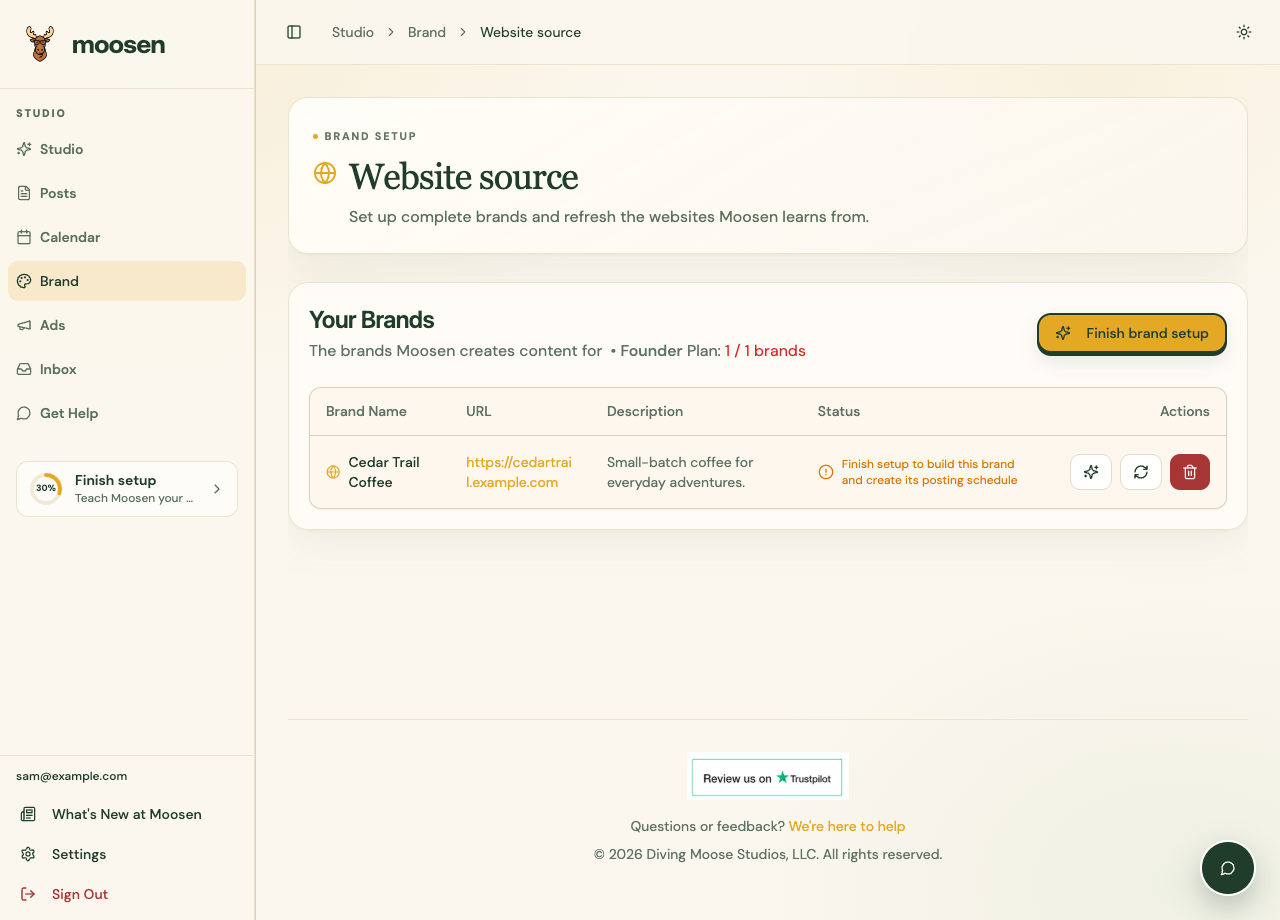 Manage your brand websites in Website source. Sample data. Select image to enlarge.
Switch brands before editing#
Open Brand, use the brand selector, and confirm the name at the top of the page before changing its writing, products, or images. Other areas, including Studio, Posts, Calendar, and Ads, show activity across the account. The Brand selector doesn't filter those views.
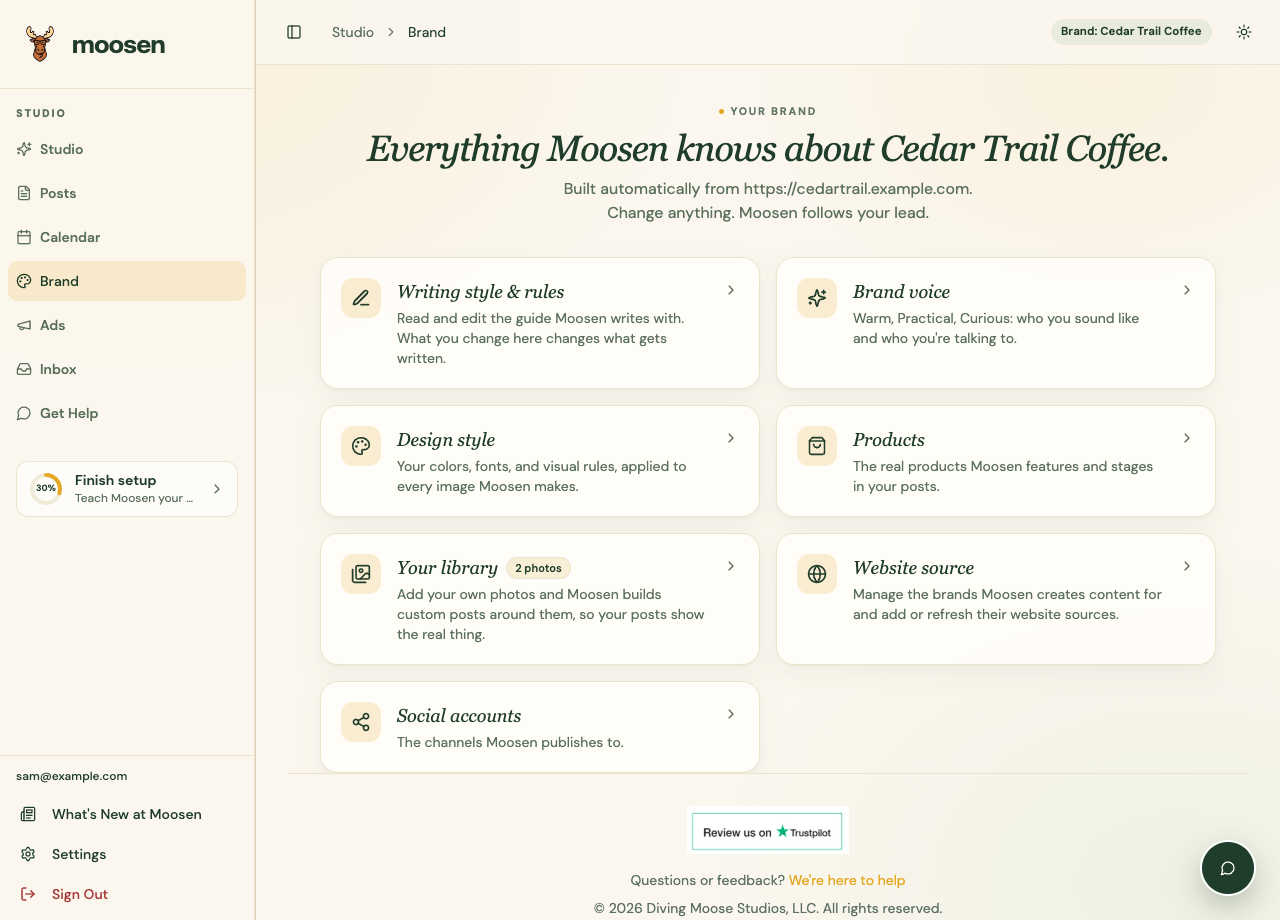 Check the selected brand before changing its guidance. Sample data. Select image to enlarge.
Check destinations per schedule#
Open Settings → Automation → Posting schedules. Each schedule identifies its brand and its Automatic publishing destinations. Choose the accounts that belong with that brand's content.
A connected account can remain available for manual posts even when a schedule doesn't select it. Review destinations carefully when several brands use the same Moosen account.
See posting schedules for cadence, media settings, and automatic destination selection.